Skip to product information


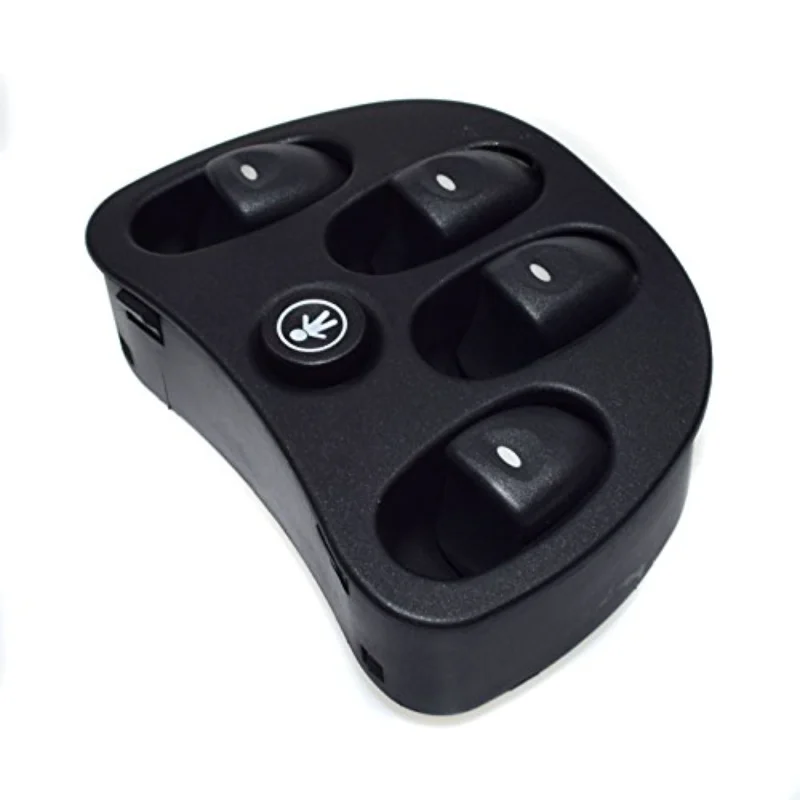
For Holden HSV VX VT 1997-02 Berlina Commodore Clubsport Senator 11 Pins Electric Master Window Switch 92047005
$43.23 AUD
Free Shipping
10% OFF 2+ Products
SPECIFICATIONS
Brand Name: NoEnName_Null
High-concerned chemical: None
OEM NO.: 92047005
Origin: Mainland China
Product Description:
-100% New,100% Factory tested.
-Global Leading Brands ,Popular Among Customers.
-Lifetime Tech Support From Malcayang Brands.
-Competitive Price With Professional Service and High Quality Standard.
-Please Comfirm The Parts Number Before Purchase ,Or Provide The Original Product Image Shape.
-It have Differenct Of Model and Appl. Year in Different Market.
-This Is Aftermarket Replacement Item But Not Genuine.
Part number:
92047005
Compatible With:
For Holden Berlina VX 2000-2002 Sedan
For Holden Berlina VX 2000-2002 Station
For Holden Calais VT 1997-2000 Sedan
For Holden Calais VX 2000-2002 Sedan
For Holden Commodore VT 1997-2000 Sedan
For Holden Commodore VT 1997-2000 Station
For Holden Commodore VX 2000-2002 Sedan
For Holden Commodore VX 2000-2002 Station Wagon
For Holden (HSV) Clubsport VT 1997-2000 Sedan
For Holden (HSV) Clubsport VX 2000-2002 Sedan
For Holden (HSV) GTS VT 1998-2000 Sedan
For Holden (HSV) GTS VX 2000-2001 Sedan
For Holden (HSV) Manta VT 1998-1999 Sedan
For Holden (HSV) Senator VT 1997-2000 Sedan
For Holden (HSV) Senator VT 1997-1999 Station Wagon
For Holden (HSV) Senator VX 2000-2002 Sedan
For Holden (HSV) SV300 VX 2001 Sedan
For Holden (HSV) XU6 VT 1998 Sedan
For Holden (HSV) XU6 VX 2001 Sedan
For Holden (HSV) XU8 VT 1999 Sedan
How to Replace a Faulty Window Switch:
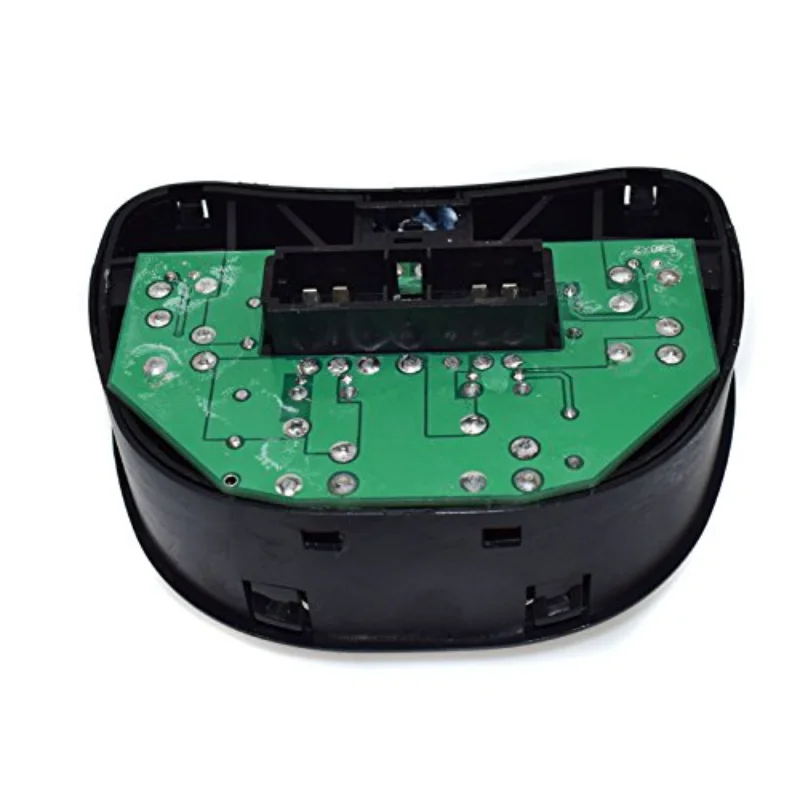
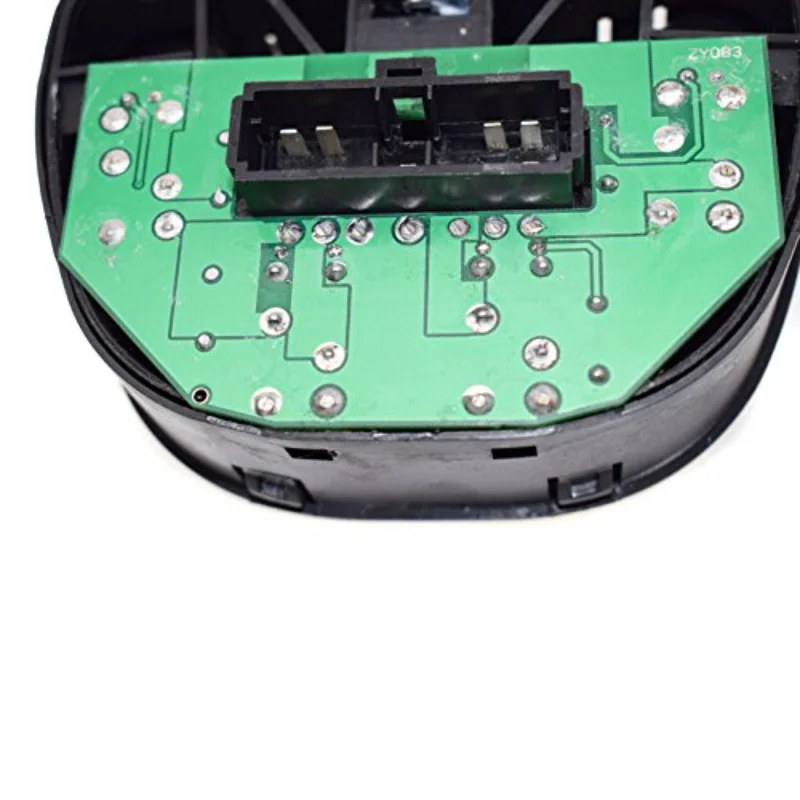
Step 1: Disconnect the negative battery terminal before working on the switch to prevent short circuit. Next, unclip the handles using a screwdriver.Lift the faulty switch out of its harness.
Step 2: If you don't want to take off the door casing or the door handle, simply slide a flat-head screwdriver under The switch bezel and pry it until it loosens to access the housing.
Step 3: Once the switch pops out of the bezel, disconnect it from the wire harness and detach it from the outlet. Remove the rockers before inserting a new switch into the harness holes.
Step 4: Assemble the rockers into the new switch and snap the device into the bezel.
Note:
-Installation Instruction is NOT included. Professional Installation Is Highly Recommend .
-Due to the light and Screen Difference, The item's Color Maybe Slightly Different From fhe Pictures.
-Please Allow 1-2mm Differences Because of the Manual Measurement.Please Understand.